警告
当記事にはAIによって生成された画像が多数掲載されています。
Stable Diffusionの拡張機能『Ultimate SD Upscale』の使い方!画像を高解像度化しよう | Romptn Magazine
ほぼこの内容
Ultimate SD Upscale 導入
Extensions タブで下記URLを導入する
GitHub – Coyote-A/ultimate-upscale-for-automatic1111
アップスケールを行う
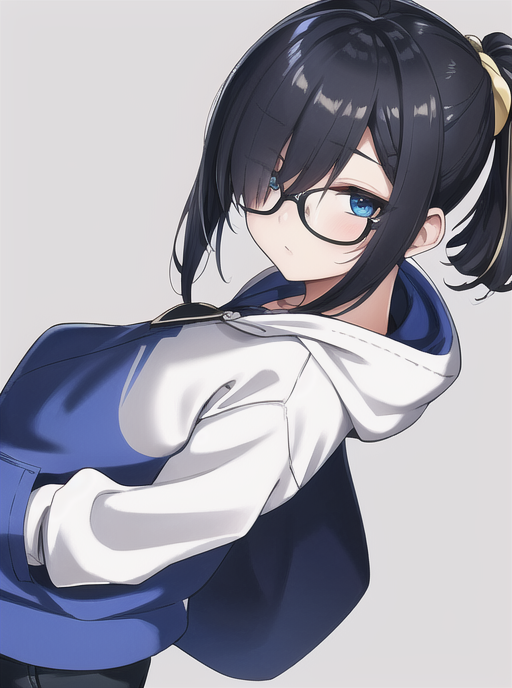
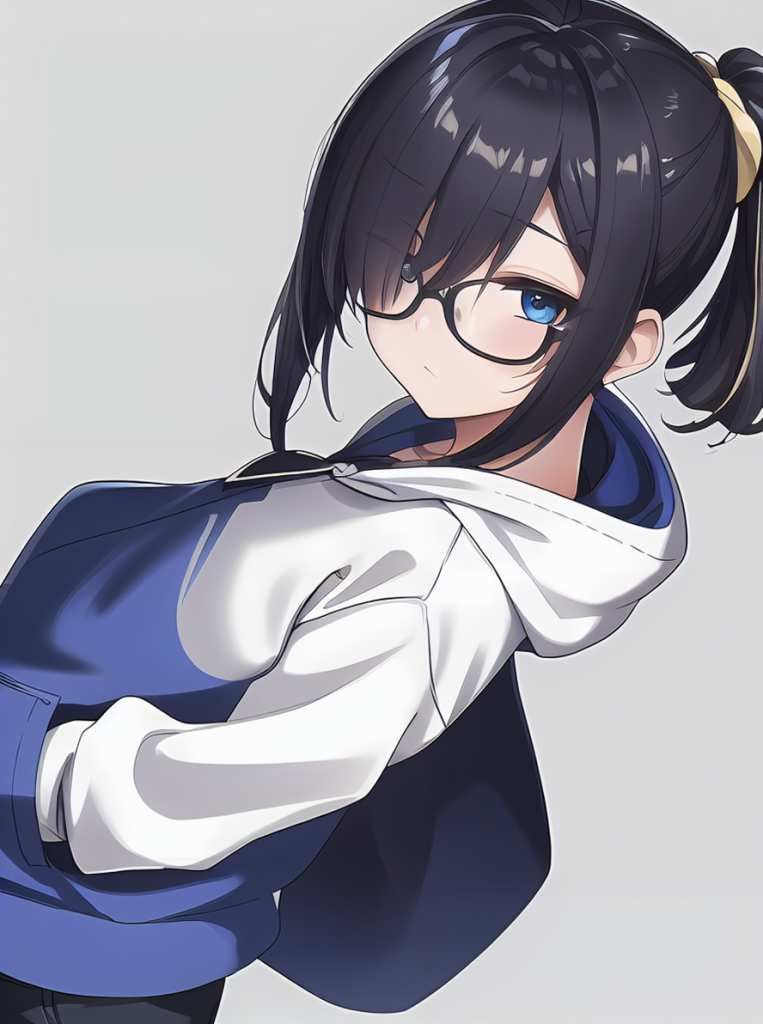
私(※アバターである「柊 雷夜」) っぽいやつを使う
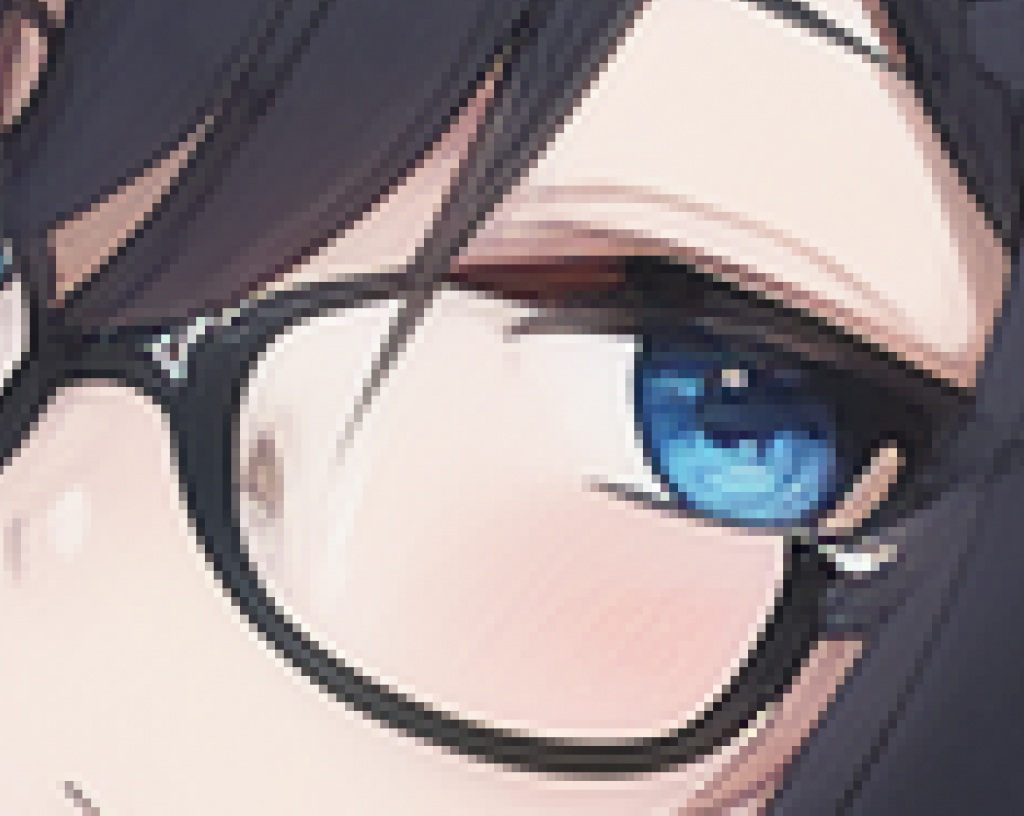
10倍ズームでこんな感じ
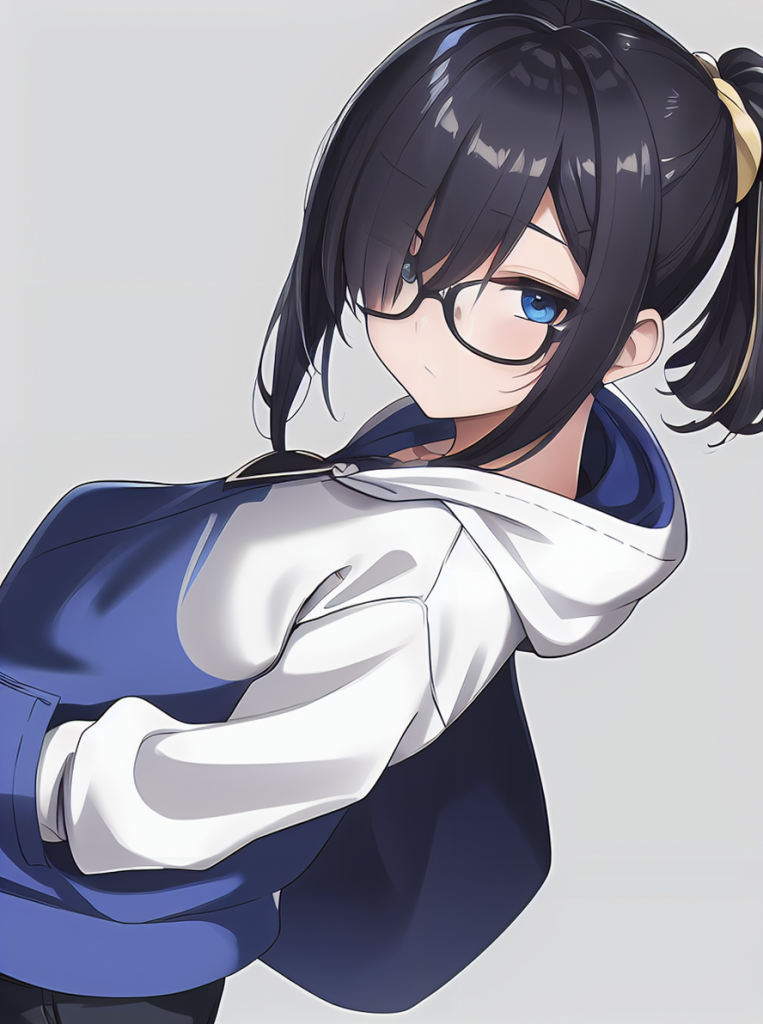
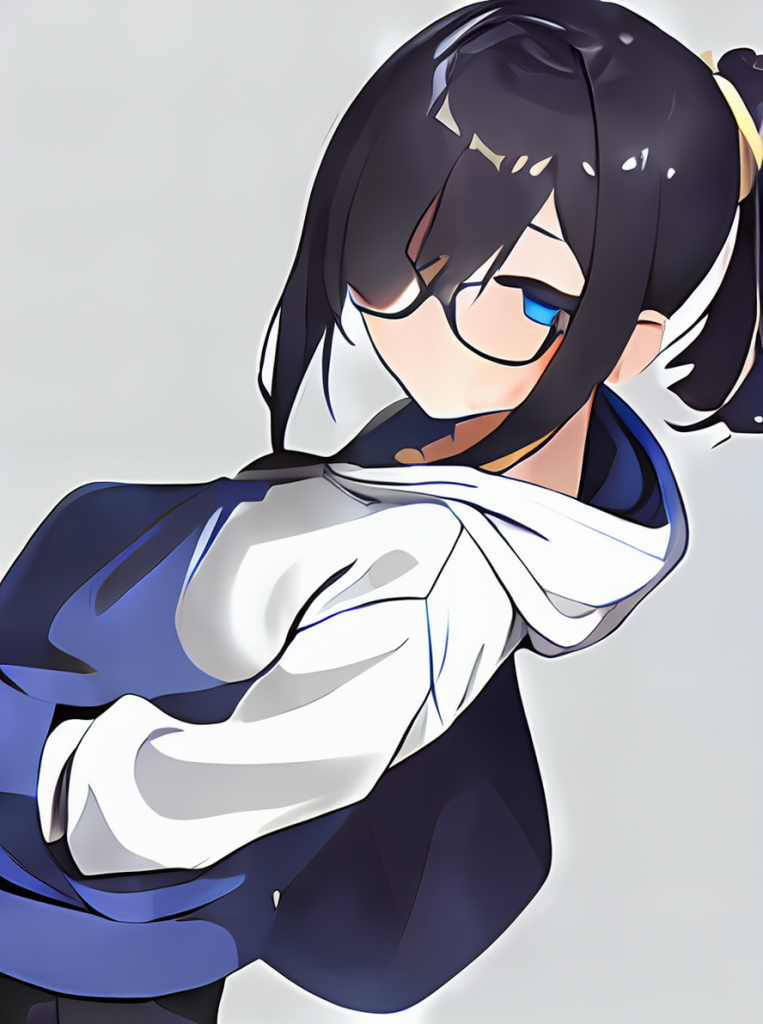
アップスケールをして同じぐらいのズームをしてみる
アップスケール1
Steps: 20,
Sampler: DPM++ 2M Karras,
CFG scale: 7,
Seed: 2276040167,
Size: 888x1192,
Model hash: 6ce0161689,
Model: v1-5-pruned-emaonly,
Denoising strength: 0.15,
Ultimate SD upscale upscaler: R-ESRGAN 4x+ Anime6B,
Ultimate SD upscale tile_width: 512,
Ultimate SD upscale tile_height: 512,
Ultimate SD upscale mask_blur: 8,
Ultimate SD upscale padding: 32,
Version: 1.6.0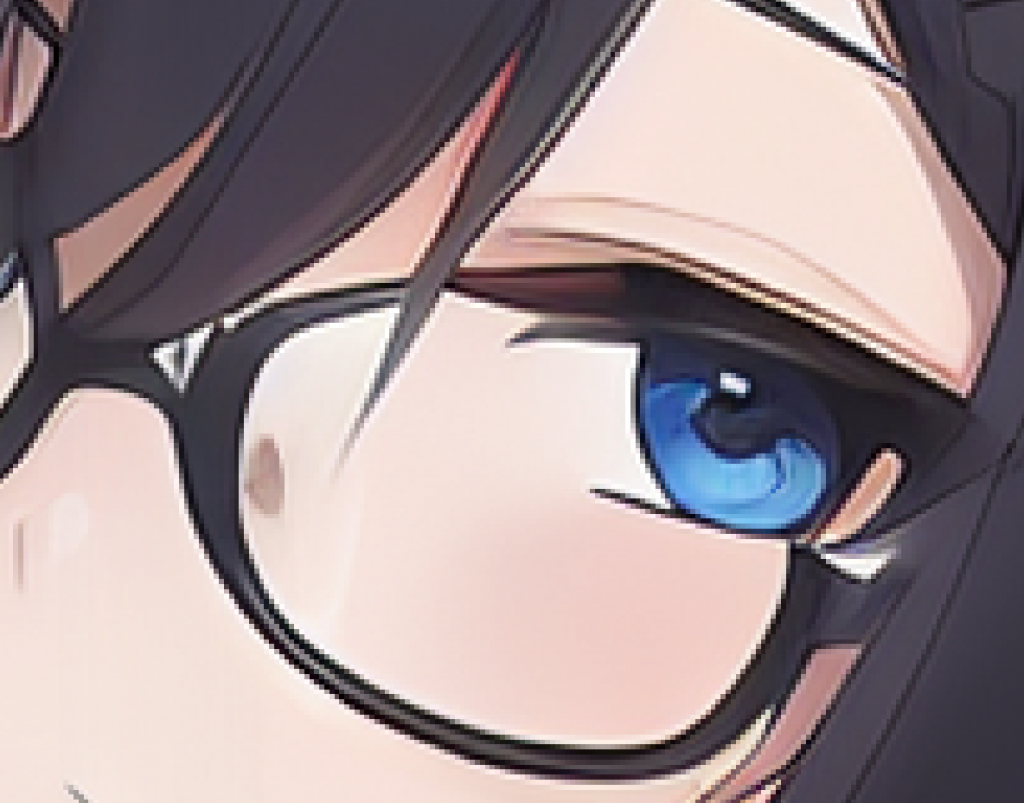
単純にズームするより綺麗に出ている
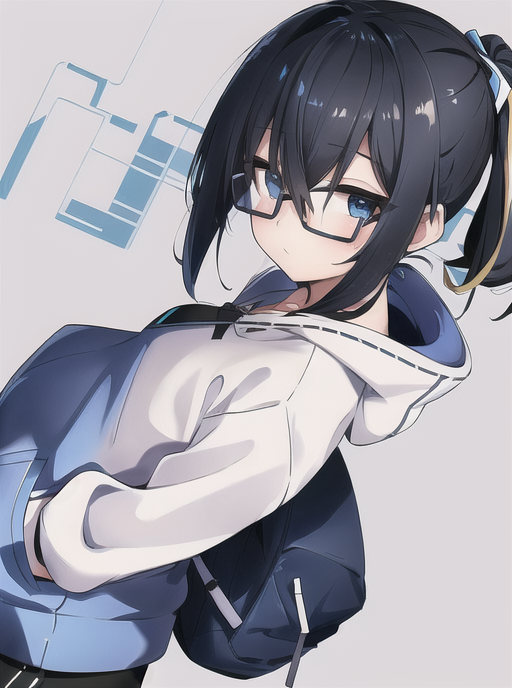
アップスケール2
Steps: 40,
Sampler: DPM++ 2M SDE Karras,
CFG scale: 7,
Seed: 689997910,
Size: 888x1192,
Model hash: 6ce0161689,
Model: v1-5-pruned-emaonly,
Denoising strength: 0.15,
Ultimate SD upscale upscaler: R-ESRGAN 4x+ Anime6B,
Ultimate SD upscale tile_width: 512,
Ultimate SD upscale tile_height: 512,
Ultimate SD upscale mask_blur: 8,
Ultimate SD upscale padding: 32,
Version: 1.6.0
パラメータやシードが変わると、また違ったアップスケールが行われる
微調整をして好みのパラメータを見つけると良い
実験:極端に低い解像度のものをアップスケールしようとすると?

めっちゃ小さくしたものを、先の「アップスケール2」のパラメータ(シード値はランダム) でアップスケールしてみる
ただし、一気に解像度をあげようとすると「ValueError: height and width must be > 0」が出たので、
「456×608」と適当に一度中継を使っている
流石に元の情報が失われすぎており、戻っては来れない
これを基に新たな画像を起こすことは可能だと思う
7th anime v3 B と、基のプロンプトをアレンジしたものを組み合わせてのimg2img
Ultimate SD Upscale の注意点
部分的に描画するので、大きなサイズを出力できる
が、プロンプトは画像全体ではなく、部分ごとにかかってしまう様子
つまり、顔が色んなところに現れたりする
ノートPCで出力させると小さなサイズでしか出せない
これでなんとか解像度よく出せるか
